KALA Generation 5
Antipodes Audio
Antipodes Audio now operates through three divisions,
each serving a different part of the audio market
while sharing a common ethos.
If your attention is on the sound of the system
rather than on what the artists are doing,
then the system has failed.
That conviction continues through everything we do.
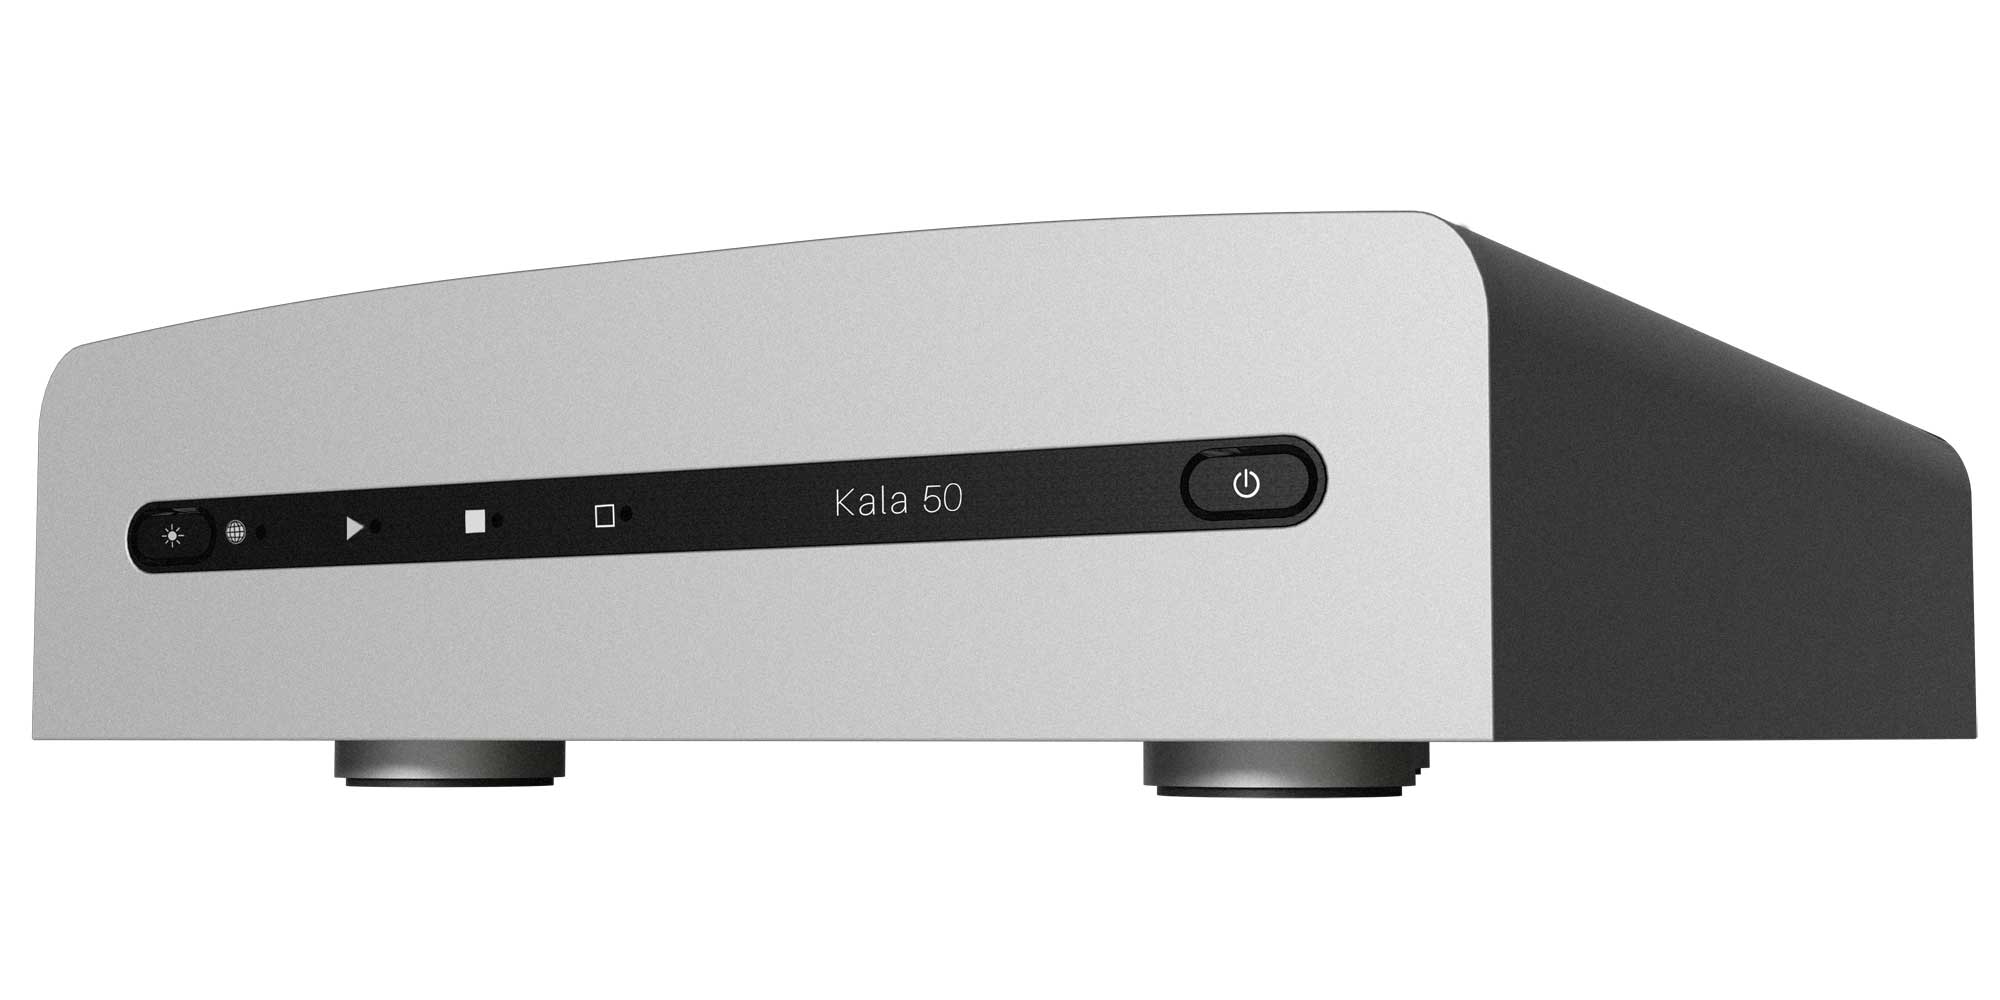
Kala
KALA continues the Antipodes digital audio source line
that began in 2009, and is presented on this website.
The new Kala 50 and Kala 20 are in production, to be launched early in third-quarter 2026.
Emotion
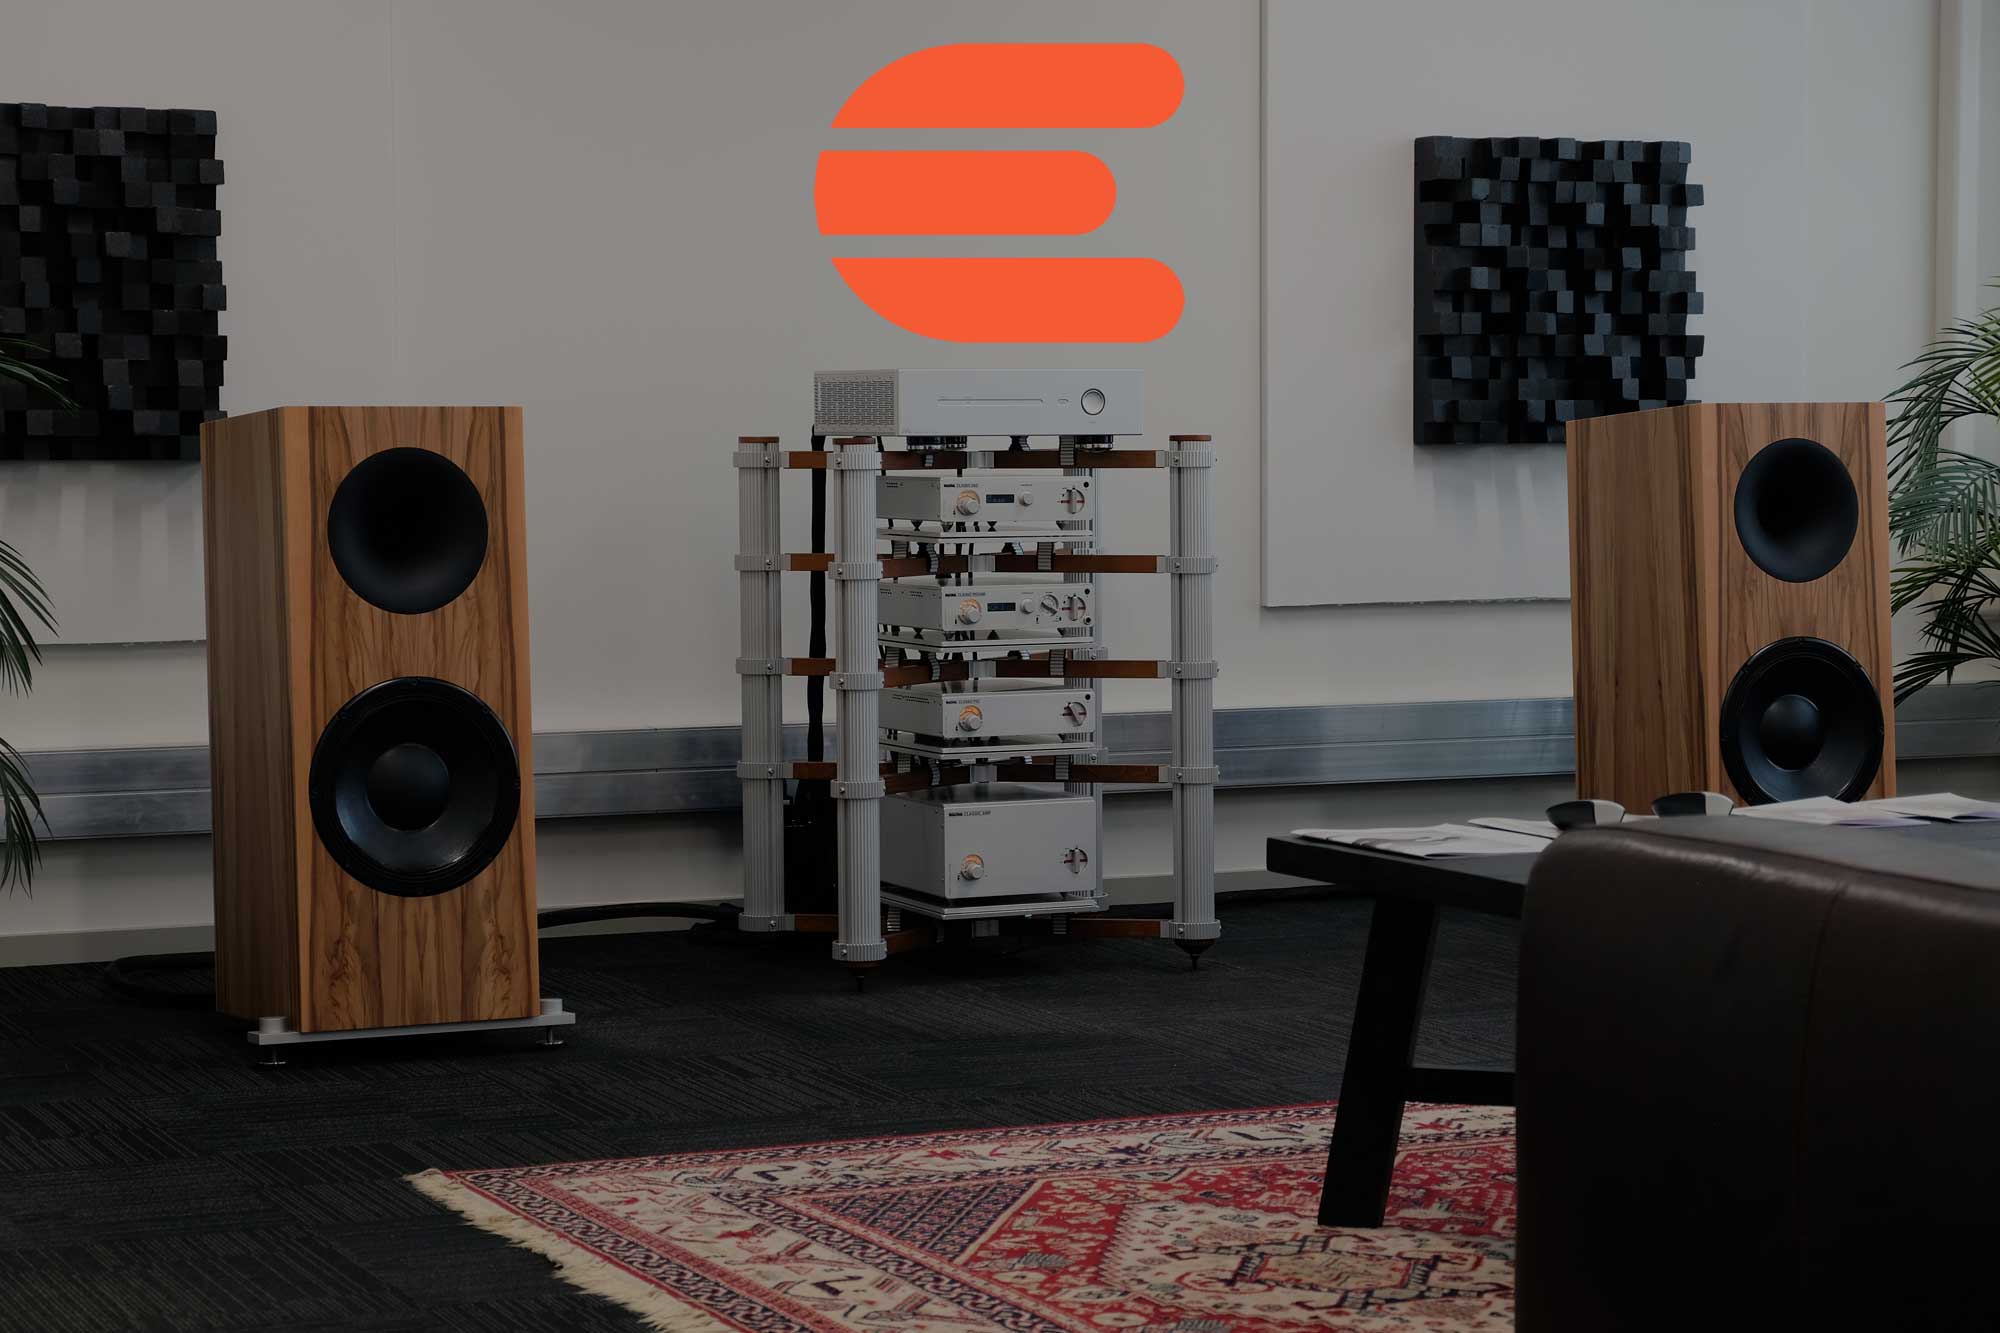
Emotion represents high-end audio brands in Oceania with a showroom in Ōtaki, New Zealand.
Discover Emotion at emotion.audio
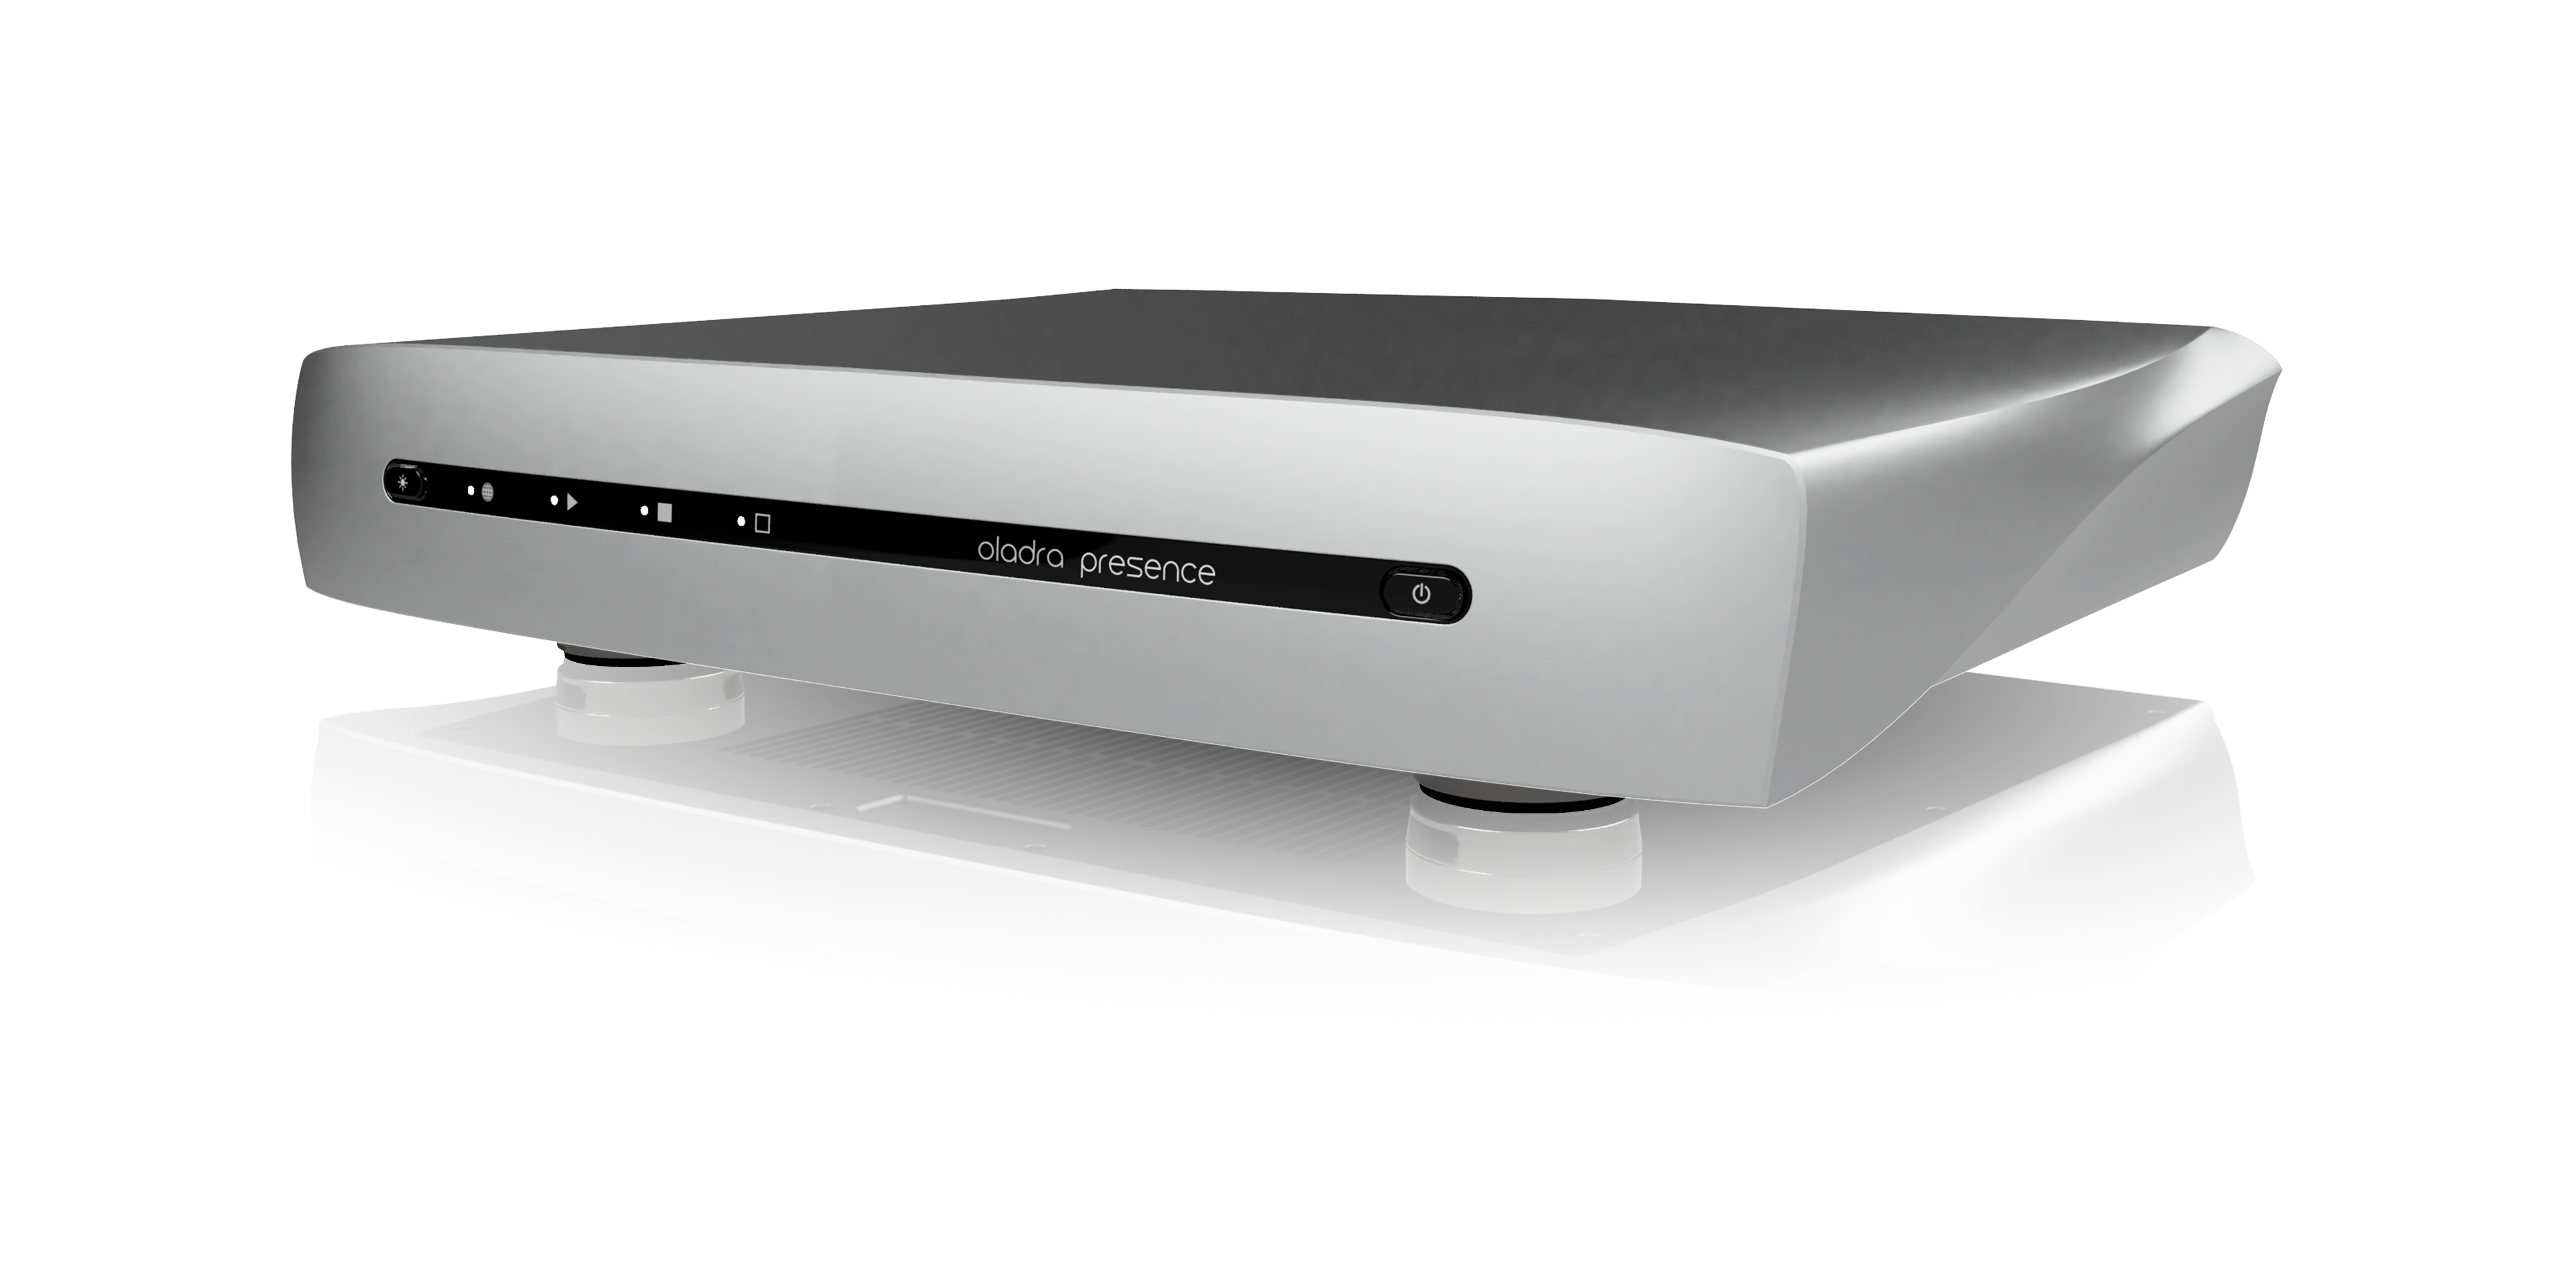
Oladra
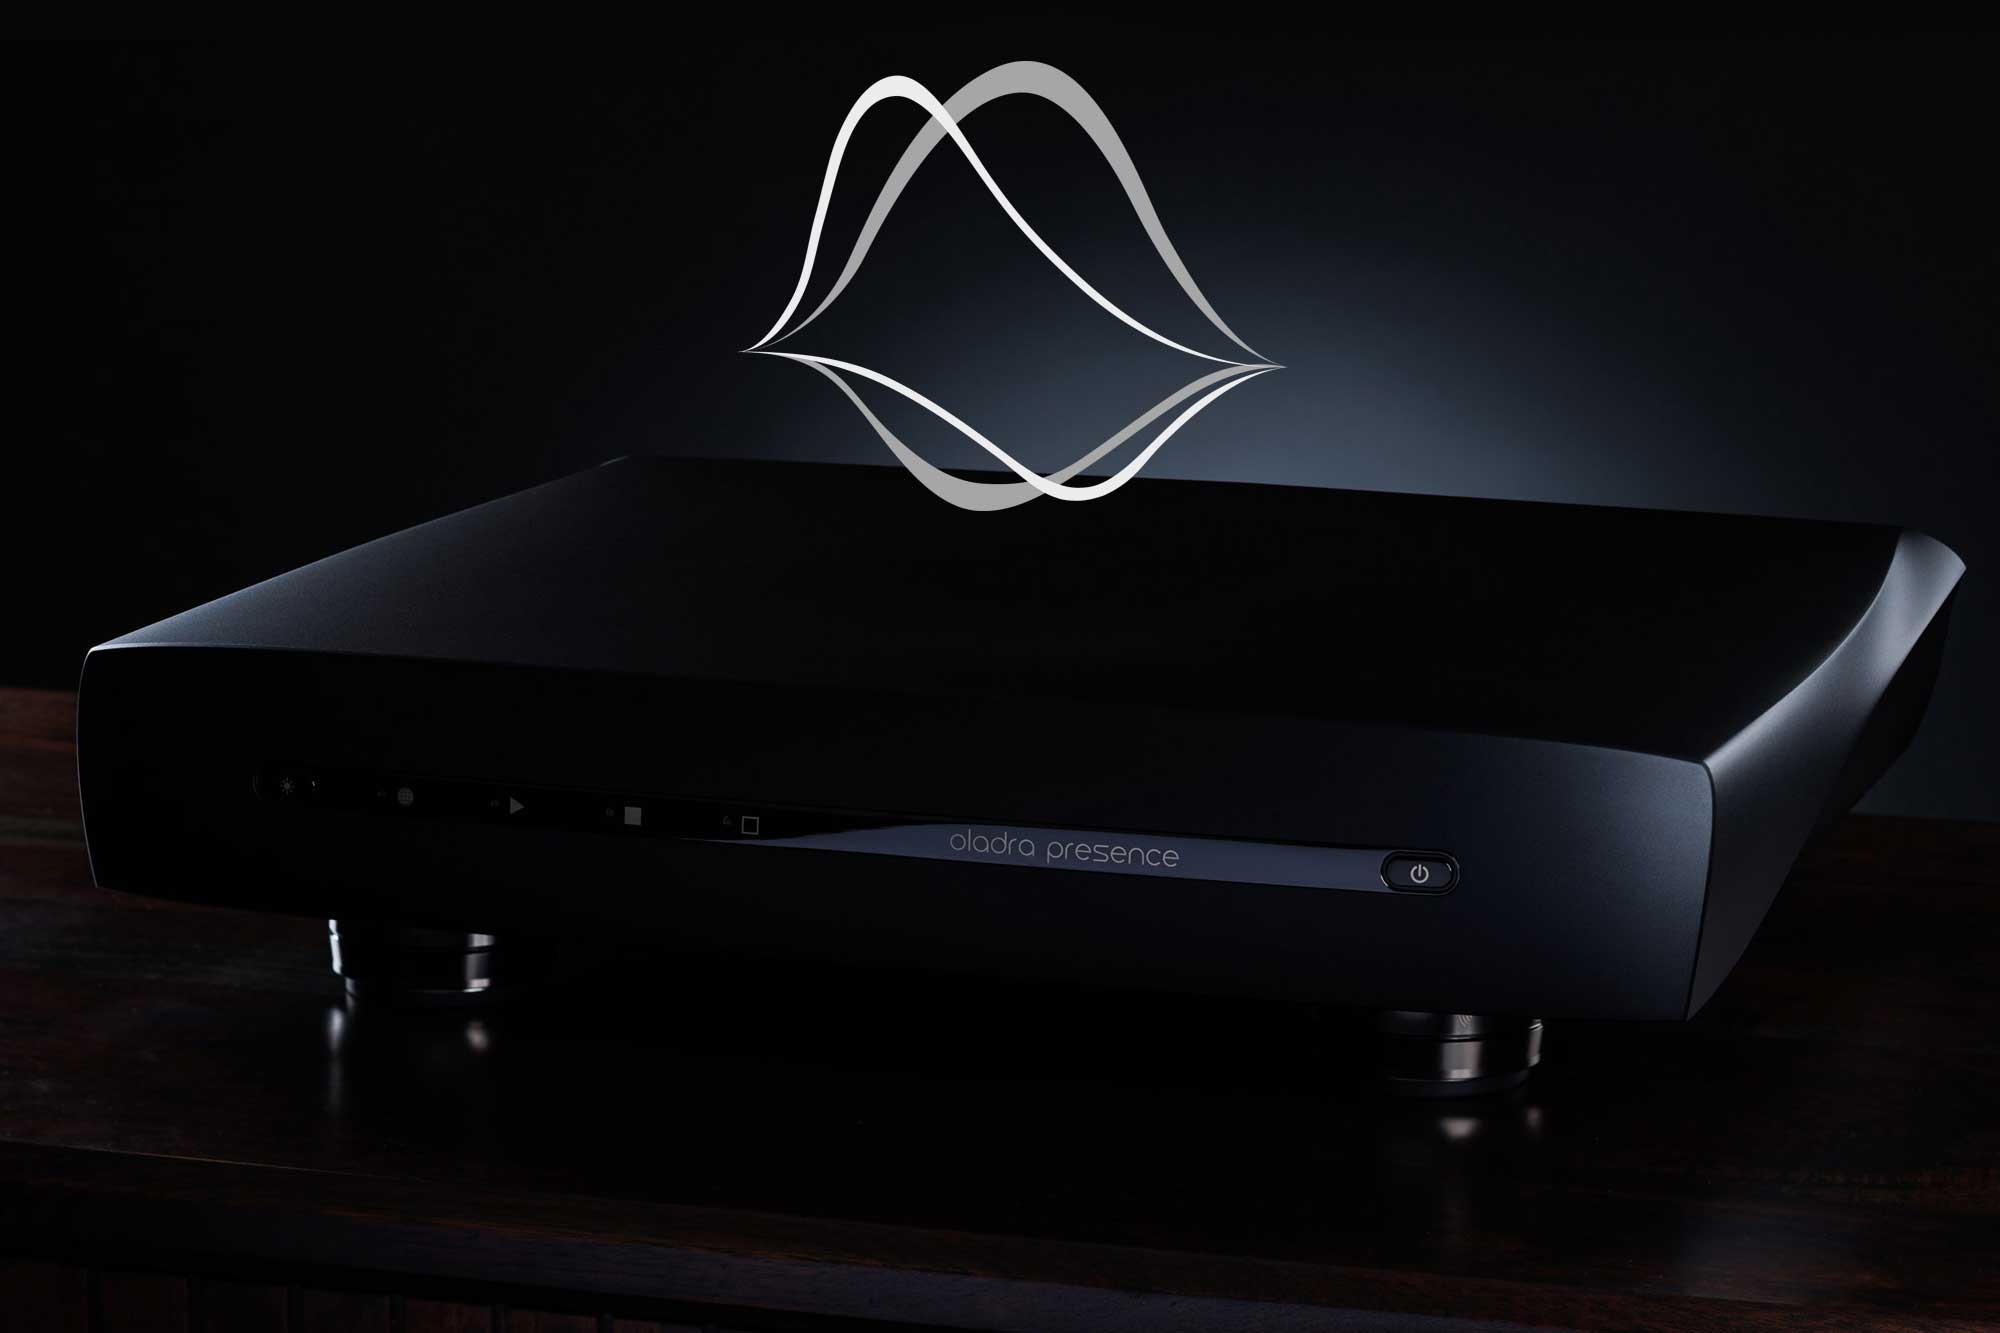
Oladra was established as a distinct brand in 2026, based on a new digital audio technology platform.
Discover Oladra at oladra.com