Get The App
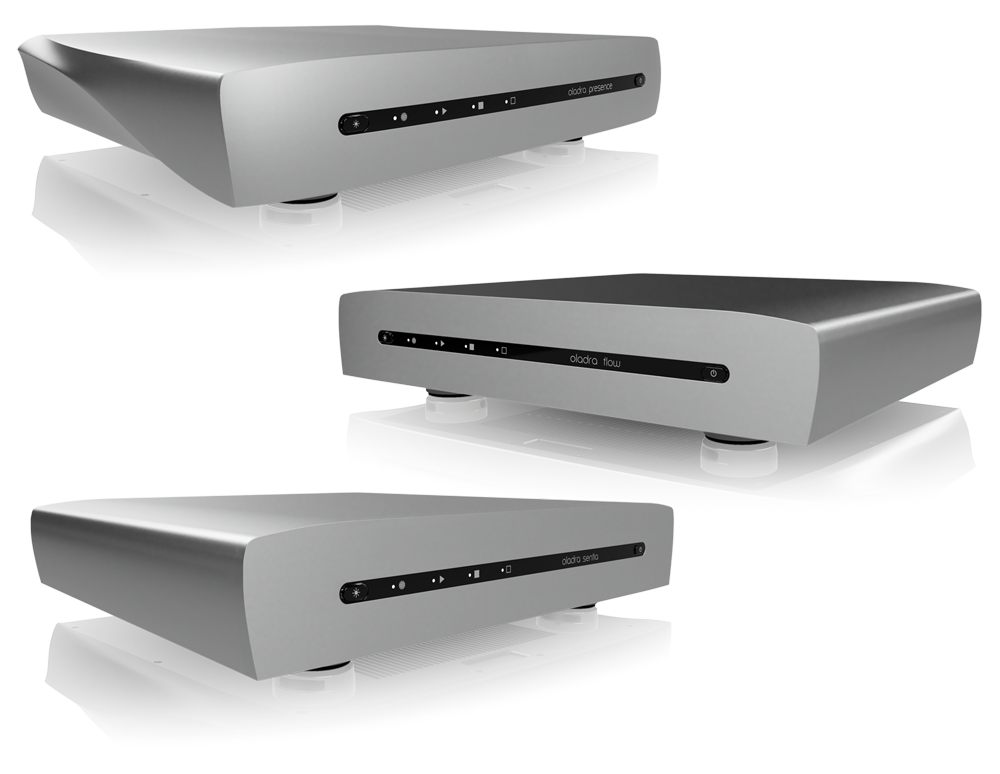
The Oladra Platform software stack involves Oladra Node on your Oladra DAS and Oladra Play on your remote device.
Oladra Play is available at the play stores for Windows, Mac, Android and iOS, and gives you complete control over your Oladra DAS.
Oladra Node is pre-installed on your Oladra DAS, as is our collection of the world's best playback applications.
Discover Your Oladra
Power on your Oladra DAS and wait till the front display confirms a network connection.
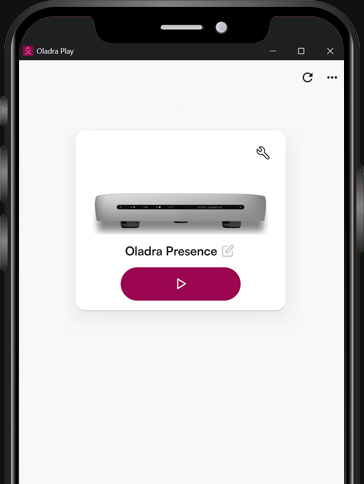
Oladra Play will discover your Oladra DAS device(s).
Each Oladra unit's tile on the Discover screen allows you to (from left to right):
-
Click the play button to launch the current playback solution (Lyrion, Roon, HQPlayer, Audirvana or MinimServer)
-
Click the edit button to rename your Oladra DAS
-
Click the spanner button to open the Manage screen
-
Click the ... menu to read the FAQ and other information.
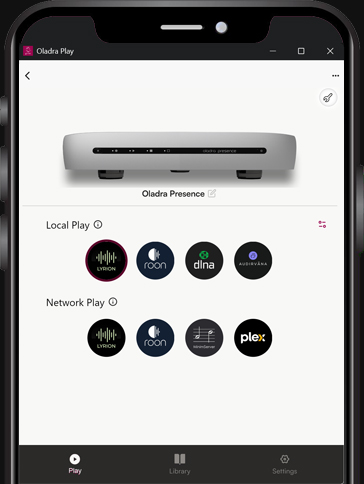
Manage Your Oladra
The Manage screen allows you to:
-
Local Play: Launch any app for playing through your DAC (via USB, AES3, etc) - plus it sets the app launchable from
the Discover screen.
-
Network Play: Launch one or more Server apps to play to compatible endpoints on your network.
-
Open the Library panel, where you can manage storage disks, drag and drop files onto your Oladra DAS, mount network drives, etc.
-
Open the Settings panel for advanced requirements.
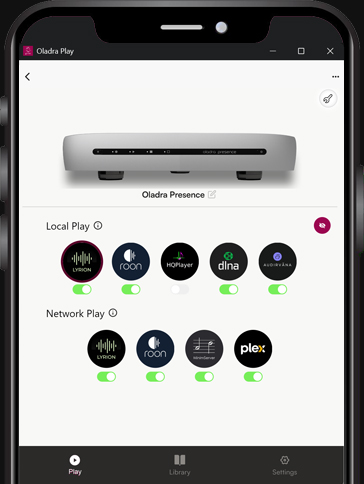
Customisable Manage Screen
Click on the toggle icon (middle-right) to reveal the app switches:
-
Local Play: Set any Local Play app off if you do not want it displayed for selection.
-
Local Play: Customise a playback solution (eg set Roon Server to pair with Lyrion, HQPlayer or Roon player).
-
Network Play: Set any Network Play app off if you are not going to use it.
-
All apps remain installed and you can toggle any app back on at any time.
-
Refresh or Reinstall any app.
-
Click the toggle icon again when you have finished customisation.
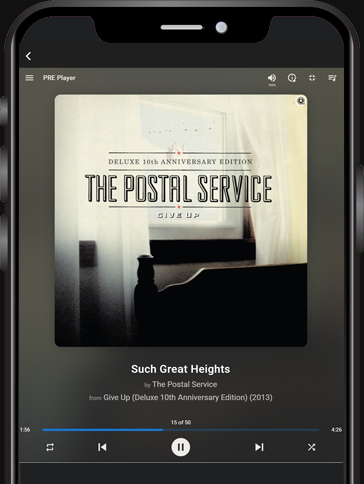
Simple & Complete
One-click to setup a storage disk.
Drag & Drop folders of music onto your Oladra DAS
One-click to toggle displaying an app.
One-click to toggle to enable or remove an app.
One-click to experiment with another app.
One-Click to launch your favourite app and start playing music.